- Home
- Mobility Scooter Accessories and Power
- Mobility Scooter Battery Capacity
- Battery Won't Hold Charge? Here's What to Do
What to Do When Your Mobility Scooter Battery Won't Hold a Charge
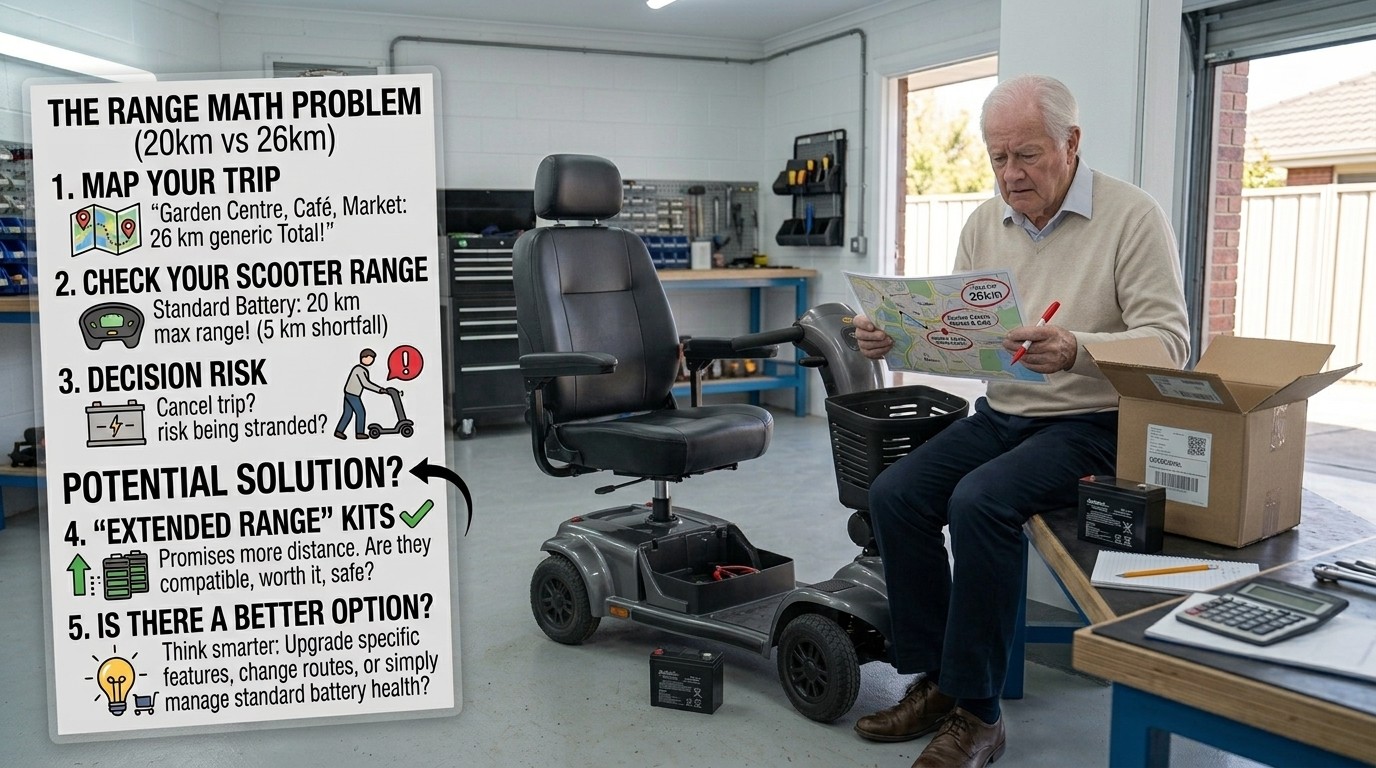
Picture this: You plug in your mobility scooter on Sunday evening, expecting a full charge by morning. But when you switch it on, the battery gauge barely moves. You unplug and plug it back in, hoping for a different result. Nothing changes. The battery that once carried you across town now cannot manage a trip to the local shop. The independence you relied on suddenly feels very fragile.
If that scenario sounds familiar, take a breath. You are not alone, and you are not powerless. Understanding what to do when your mobility scooter battery won't hold a charge is not about becoming an electrical engineer. It is about knowing a few simple checks, recognising the signs of a failing battery, and making an informed decision about whether to troubleshoot, repair, or replace.
This guide will walk you through each step, from the easiest checks to the more advanced tests, so you can get back on the road with confidence.
Start With the Simple Checks First
Before you assume the worst, rule out the easy stuff. A surprising number of "dead battery" problems turn out to be something much simpler.
Check the Power Source
Start at the wall. Plug another device into the socket to confirm it is working. Check for blown fuses and make sure any extension leads are functioning.
Sometimes the issue is the mains supply, not the scooter. If the socket works, move to the charger.
Inspect the Charger
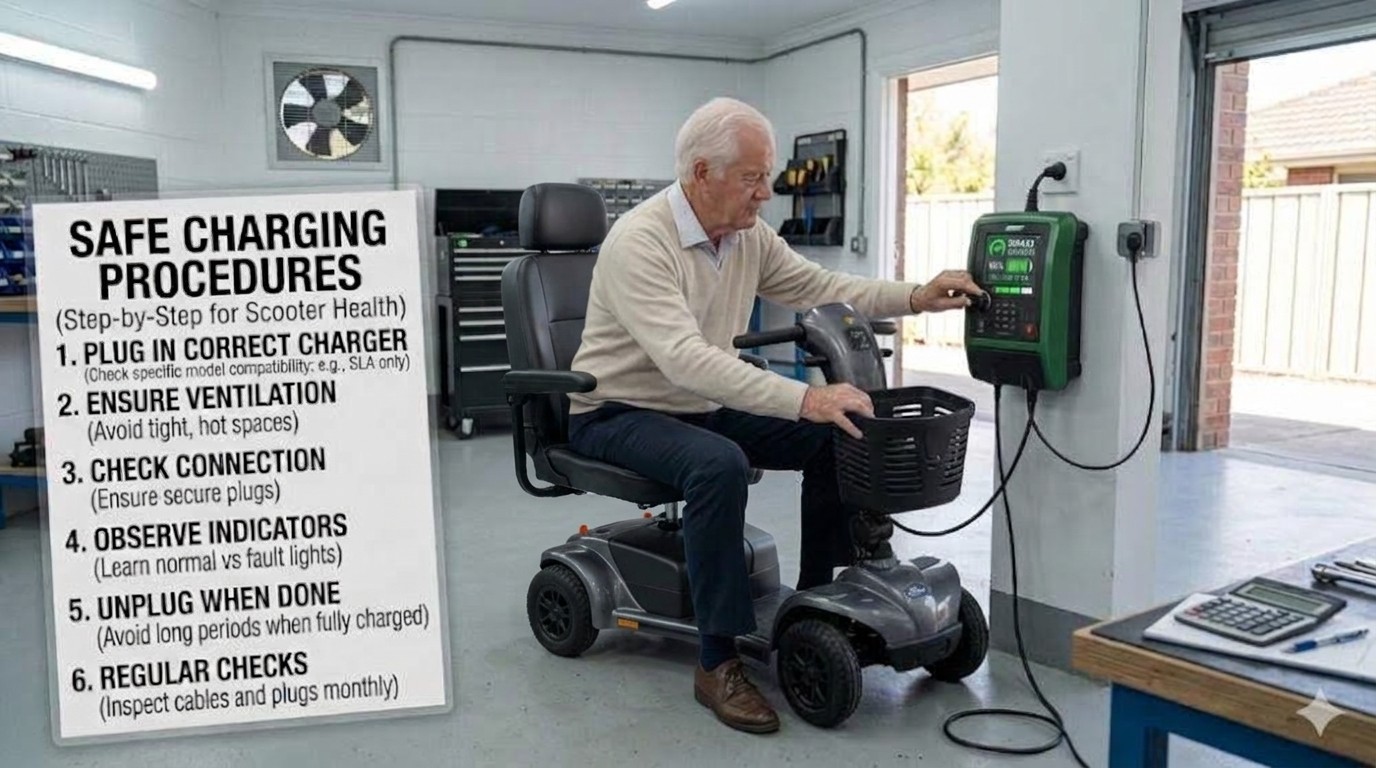
Look for signs the charger is failing. Does the indicator light come on when you plug it in? Is it flickering? Is the charger unusually hot or completely cold? If the charger light does not turn on at all, the charger may be faulty.
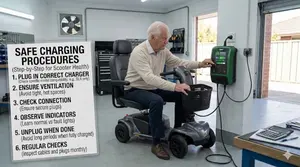
Only use the correct manufacturer-approved charger for your scooter. Using the wrong voltage can prevent charging or damage the battery.
Examine the Charging Port
Inspect the scooter's charging socket for dirt, debris, bent pins, or loose connections.
A small amount of debris can interrupt contact and prevent charging. Always switch off and unplug the scooter before inspecting the port.
Check the Battery Connections
If your scooter has a removable battery, ensure it is seated correctly. Check that the connectors are clean and the cables are secure. Loose connections can prevent charging entirely.
If you have completed these checks and the battery still will not hold a charge, the problem is likely deeper. The next step is to understand what is happening inside the battery itself.
Why Batteries Lose Their Ability to Hold a Charge
Battery capacity does not disappear overnight. It declines gradually, often over months, until one day the scooter simply cannot complete a familiar journey. Understanding why this happens helps you recognise the signs earlier and make better decisions.
For lead-acid batteries (AGM and gel), the most common culprit is sulphation. This is where the active material on the battery plates changes into lead sulphate crystals, a bit like plaque on teeth. These crystals gradually coat the surface of the plates, reducing the battery's energy and storage capacity until it eventually fails. About 80% of early battery failures are caused by sulphation.
Sulphation is accelerated by:
- Chronic undercharging: Leaving the battery partially charged for extended periods.
- Deep discharges: Running the battery down too far before recharging.
- Long periods in storage: Leaving the battery flat when the scooter is not in use.
- Incorrect charging: Using the wrong charger or unplugging before the charge is complete.
Lithium batteries do not suffer from sulphation, but they can still lose capacity over time. They have a finite number of charge cycles—typically 1,000 to 4,000 or more—and they can be damaged by deep discharge, extreme temperatures, or a faulty Battery Management System (BMS).
The good news is that sulphation and other forms of capacity loss often give warning signs before the battery fails completely. Learning to recognise them is the next step.
Warning Signs Your Battery Is Failing
Batteries rarely fail without warning. They give you clues along the way. Watch for these signs:
- Reduced range: The scooter runs out of power significantly faster than it used to. If travel distance has reduced by 30% or more, the battery is likely nearing the end of its life.
- Sluggish performance: A noticeable drop in top speed or a loss of power when going up inclines.
- Shorter charging times: The battery seems to charge faster than it used to—often a sign it can no longer hold a full charge.
- Charger light turns green immediately: If the charger indicates "full" within minutes of plugging it in, the battery may be refusing to accept a charge.
- Inconsistent battery gauge: The gauge drops quickly or behaves erratically.
- Scooter cuts out suddenly: The scooter turns on briefly but stops when you try to move.
If you notice any of these signs, it is time to test the battery properly. Guessing can lead to unnecessary replacements or, worse, being stranded when you least expect it.
How to Test Your Battery at Home
You do not need a workshop to get a clear picture of your battery's health. A digital multimeter and a simple load test can tell you a lot.
Step 1: Check the Voltage
Make sure the battery is fully charged first. An extremely discharged battery will exhibit the same symptoms as a bad battery. Connect your multimeter to the charging port and check the voltage. A good reading for a 24V system should be between 25.5V and 26.0V with the scooter in neutral.
Step 2: Perform a Load Test
A voltage reading alone can be misleading. A battery can show full voltage when resting but collapse under load. This is the real test.
- Switch the scooter's electronics off.
- Connect the voltmeter leads to the charger connector.
- Switch the electronics on.
- Run the scooter in neutral for at least two minutes.
- Sit on the scooter and place your feet against a stationary object (like a wall or workbench).
- Carefully give a forward command, trying to drive through the stationary object. This puts a heavy load on the batteries.
- Read the meter while the motors are straining.
If the voltage drops more than 1.0 volt for a single battery (or 2.0 volts for a pair of batteries) during the test, the batteries should be replaced. This is the definitive sign that they can no longer hold a charge under real-world conditions.
If the load test confirms the batteries are failing, you have a clear answer. But what if the batteries pass the test? Then the problem may lie elsewhere.
What If the Battery Passes the Test?
If your batteries hold voltage under load but the scooter still will not charge or perform, the issue may not be the battery at all. Several other components can mimic battery failure:
- Faulty charger: The charger may not be delivering a full charge. If possible, test with a known-good charger.
- Loose or corroded wiring: Check all connections, including the ground wires and the wiring harness.
- Faulty controller: In rare cases, a controller issue can cause symptoms that look like battery failure.
- Parasitic drain: If the battery discharges between uses even when the scooter is off, there may be a short or a faulty switch draining power.
If you have eliminated these possibilities and the battery still will not hold a charge, replacement is the next step.
When to Replace—and What to Choose
Most mobility scooter batteries last between 12 and 36 months, depending on chemistry, usage, and care. If your battery is within that range and has failed the load test, replacement is the sensible choice.
When replacing, remember two important rules:
Replace both batteries at the same time. Most scooters use two 12V batteries wired in series. When one fails, both should be replaced to ensure they are balanced electrically. If you only replace one, the new battery can be damaged and fail early.
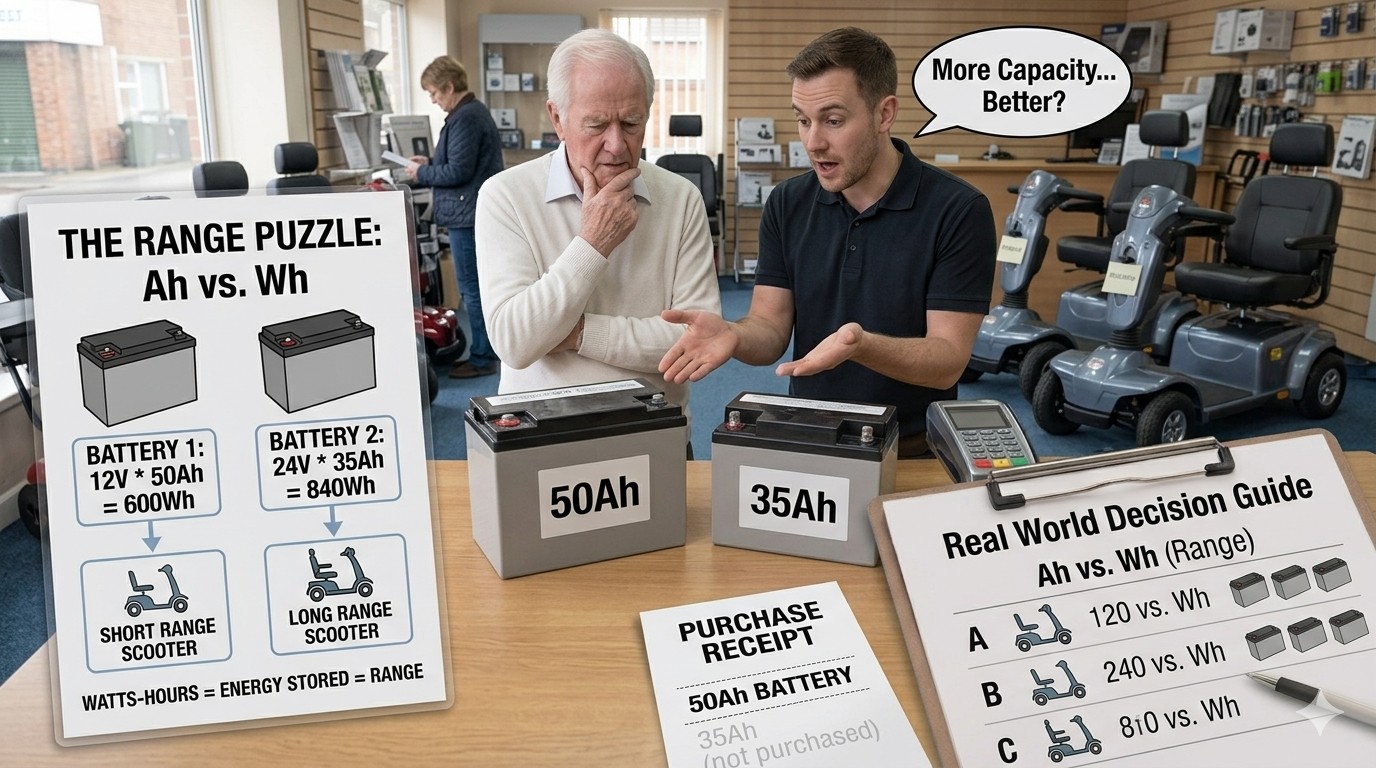
Match the specification. The replacement battery must have the same voltage, capacity (Ah), chemistry, and physical dimensions as the original. For a full compatibility guide, see our article on the mobility scooter battery compatibility checklist.
If you are considering an upgrade to a higher-capacity battery or a switch to lithium, now is the time to research those options. Our guides on upgrading to higher Ah batteries and the lithium upgrade decision guide will walk you through the process.

Frequently Asked Questions
Why does my battery show full but die quickly?
This is one of the most common signs of a battery that can no longer hold a usable charge. A failing charger, corroded terminals, or a battery that has lost capacity can all cause this symptom.
Can I fix a battery that won't hold a charge?
If the problem is sulphation or worn-out cells, the battery cannot be reliably repaired. In most cases, replacement is the only safe and effective solution.
How long should a mobility scooter battery last?
AGM batteries typically last 1–2 years, gel batteries 1–3 years, and lithium batteries 4–8 years, depending on usage and care.
Should I replace both batteries or just the faulty one?
Always replace both batteries at the same time. They work as a matched pair, and mixing old and new batteries causes uneven charging and premature failure.
Can I use a car battery charger on my mobility scooter?
No. Car chargers are designed for starting batteries, not deep-cycle mobility batteries. They use different voltage profiles and can damage your scooter battery.
What should I do if my battery is still under warranty?
Contact the manufacturer or retailer before attempting any repairs or replacements. Using non-original parts or attempting DIY fixes may void your warranty.
Your Next Step
A battery that will not hold a charge is frustrating, but it is not the end of your mobility. In most cases, the problem is diagnosable with a few simple checks. Start with the easy stuff—the power source, the charger, the connections. If those check out, test the battery under load. And if the battery fails, replace both batteries as a matched pair.
You now have a clear, practical process for handling this problem. No more guessing. No more hoping the battery will magically recover. Just a step-by-step approach that puts you back in control.
And that confidence? It means you can face battery problems without panic, knowing exactly what to check and when to seek help. You deserve that confidence.
And now you have the tools to build it.

Ready to Go Deeper?
This guide is part of our complete series on choosing the right battery capacity for your mobility scooter. If you found this helpful, these related guides will take you further:
- Choosing the Right Battery Capacity for Your Mobility Scooter — The complete hub guide to capacity selection
- Ah vs Wh for Mobility Scooters: How to Compare Batteries the Right Way — The formula that changes everything
- How to Estimate the Battery Capacity You Need from Your Typical Weekly Routine — Put the numbers to work for your lifestyle
- Mobility Scooter Battery Compatibility Checklist: Size, Terminals, Voltage, Charger, and Fit — Make sure your chosen battery actually fits
- Can You Upgrade to Higher Ah Batteries on Your Mobility Scooter (and What Can Go Wrong)? — The upgrade decision, explained
- Lithium Upgrade Decision Guide: What Capacity to Choose and What Else Must Change — Is lithium right for you?
- Choosing the Right Charger for Your Battery Capacity and Chemistry — Don't overlook this critical companion purchase
- Battery Capacity vs Range Claims: How to Sanity-Check Manufacturer "Miles per Charge" Numbers — Why real-world range differs from the spec sheet
- Choosing Battery Capacity for Travel/Portable Mobility Scooters vs Mid-Size vs Heavy-Duty Models — Capacity recommendations by scooter type
- How Rider Weight, Terrain, and Stop-Start Driving Change the Capacity You Should Choose — Personalise your estimation
- Mobility Scooter Battery Maintenance: How to Preserve Capacity and Extend Lifespan — The mobility scooter battery maintenance guide
Stay mobile, stay confident!
Sign up for our monthly Mobility Scooter Newsletter to receive practical guides, expert advice, and inspiring stories that help you make the most of your scooter and download our free "Mobility Scooter Guide for Beginners."
Don't worry — your e-mail address is totally secure.
I promise to use it only to send you our newsletter, "Mobility Matters."
Recent Articles


-
Choosing the Right Battery Capacity 101: (Ah vs Wh)
Oct 09, 26 08:10 AM
 Choosing the Right Battery Capacity Guide: Compare Ah vs Wh, estimate range, and pick the best battery for your routine.
 -
What to Do When Your Mobility Scooter Battery Won't Hold a Charge
Oct 09, 26 08:05 AM
What to do when your mobility scooter battery won't hold a charge: Everything you need to know about diagnosing and fixing battery problems. -
The Battery Maintenance Guide Every Scooter Owner Needs
Oct 09, 26 06:23 AM
Mobility scooter battery maintenance: how to preserve capacity and extend lifespan. Stop replacing batteries early. Get the most from every charge.


Ready to Feel More Confident on Your Mobility Scooter?

My Ebook, The Ultimate Guide to Mobility Scooters, walks you through choosing the right scooter, using it safely, and keeping it in top condition — all explained in clear, friendly language.
Give yourself (or someone you love) the gift of independence.




