- Home
- Services and Shopping
- Mobile Repair Call-out Expectations
- Mobility Scooter Issues Fix at Home vs Workshop
What Mobility Scooter Issues Can Usually Be Fixed at Home vs Must Go to a Workshop?
Knowing what mobility scooter issues can usually be fixed at home vs must go to a workshop is one of the most empowering skills you can develop as a scooter owner. It saves you money on unnecessary call‑out fees, reduces the stress of waiting days for a technician, and gives you back a sense of control when your scooter lets you down.
But here's the thing—getting it wrong can be expensive, frustrating, and even dangerous.
Imagine this: your scooter won't move. You panic, call a technician, pay a $70–$150 call‑out fee, and they arrive only to flick the freewheel lever back into drive mode. Two seconds. That's all it took.
Alternatively, imagine the opposite: you spend hours trying to fix a complex electrical fault, accidentally short the controller, and turn a $200 repair into a $500 one.
This guide is your symptom‑by‑symptom triage tool. We'll walk through the most common mobility scooter problems, show you which ones are safe and simple to fix at home, and flag the ones that absolutely must go to a qualified workshop. By the end, you'll know exactly when to grab your toolkit and when to pick up the phone.
Let's start with the single most important rule of scooter repairs—because getting this wrong can cost you dearly.

The Golden Rule of Mobility Scooter Repairs
Before we dive into specific problems, here's a principle that will guide every decision you make: if you're not absolutely certain about what you're doing, don't do it.
Mobility scooters are electromechanical devices with safety‑critical systems. A botched DIY repair doesn't just waste your time and money—it can create serious safety hazards. Brakes that fail on a slope, electrical shorts that cause fires, or batteries that are mishandled and damaged can all lead to injury.
That said, many common issues are straightforward, safe, and satisfying to fix yourself. The key is knowing the difference.
With that golden rule in mind, let's look at the most common scooter problem of all—and it's one you can almost certainly fix yourself.
At‑Home Fixes: Problems You Can Tackle Yourself
These are the issues that experienced scooter owners fix all the time. They require basic tools (screwdrivers, a tyre pump, a multimeter if you're feeling fancy), common sense, and a willingness to read your user manual
1. Battery and Charging Issues (Most Common)
The problem:
Your scooter won't turn on, dies quickly, or struggles on inclines. The dashboard lights may flicker or stay dark.
The DIY fix:
This is by far the most frequent cause of scooter failure. Start by checking the simple things:
- Is the charger plugged in securely at both ends? Sounds basic, but it's astonishingly common.
- Has the battery been charged for long enough? Most batteries need a full 8–10 hour charge cycle. Short "top‑off" charges can lead to "battery memory" issues in older lead‑acid models.
- Are the battery terminals clean? Look for white or blue‑green powder—that's corrosion. Clean it with a stiff brush and ensure a solid connection.
- Test the battery voltage if you have a multimeter. A fully charged 12‑volt battery should read approximately 12.7 volts or higher. Readings below 12.0 volts indicate a deeply discharged or failing battery.
- Check the circuit breaker—it's usually a small button near the battery that may have tripped. Press it to reset.
- Check the fuse—a blown main fuse causes sudden, complete power loss. Replace it with one of the exact same amperage rating.
Batteries typically last 1–3 years depending on usage. If your battery is over two years old and not holding charge, it's simply time for a replacement—and that's a perfectly manageable DIY job.
But batteries aren't the only simple fix. Sometimes the problem is even easier than that.
2. Freewheel Lever (The Classic "False Alarm")
The problem:
The scooter powers on—lights work, dashboard lights up—but when you press the throttle, nothing happens.
The DIY fix:
This is the most common "breakdown" that isn't a breakdown at all. Most scooters have a freewheel lever that allows the scooter to be pushed manually. If that lever is left in neutral or freewheel mode, the scooter's safety system prevents it from driving.
Simply locate the lever (usually near the rear axle), push it firmly into drive mode, switch the scooter off, wait a moment, and restart. You've just saved yourself a call‑out fee.
That was easy, right? Let's keep going—there are more simple fixes where that came from.
3. Diagnostic Beep Codes
The problem:
Your scooter is beeping or flashing lights in a specific sequence.
The DIY fix:
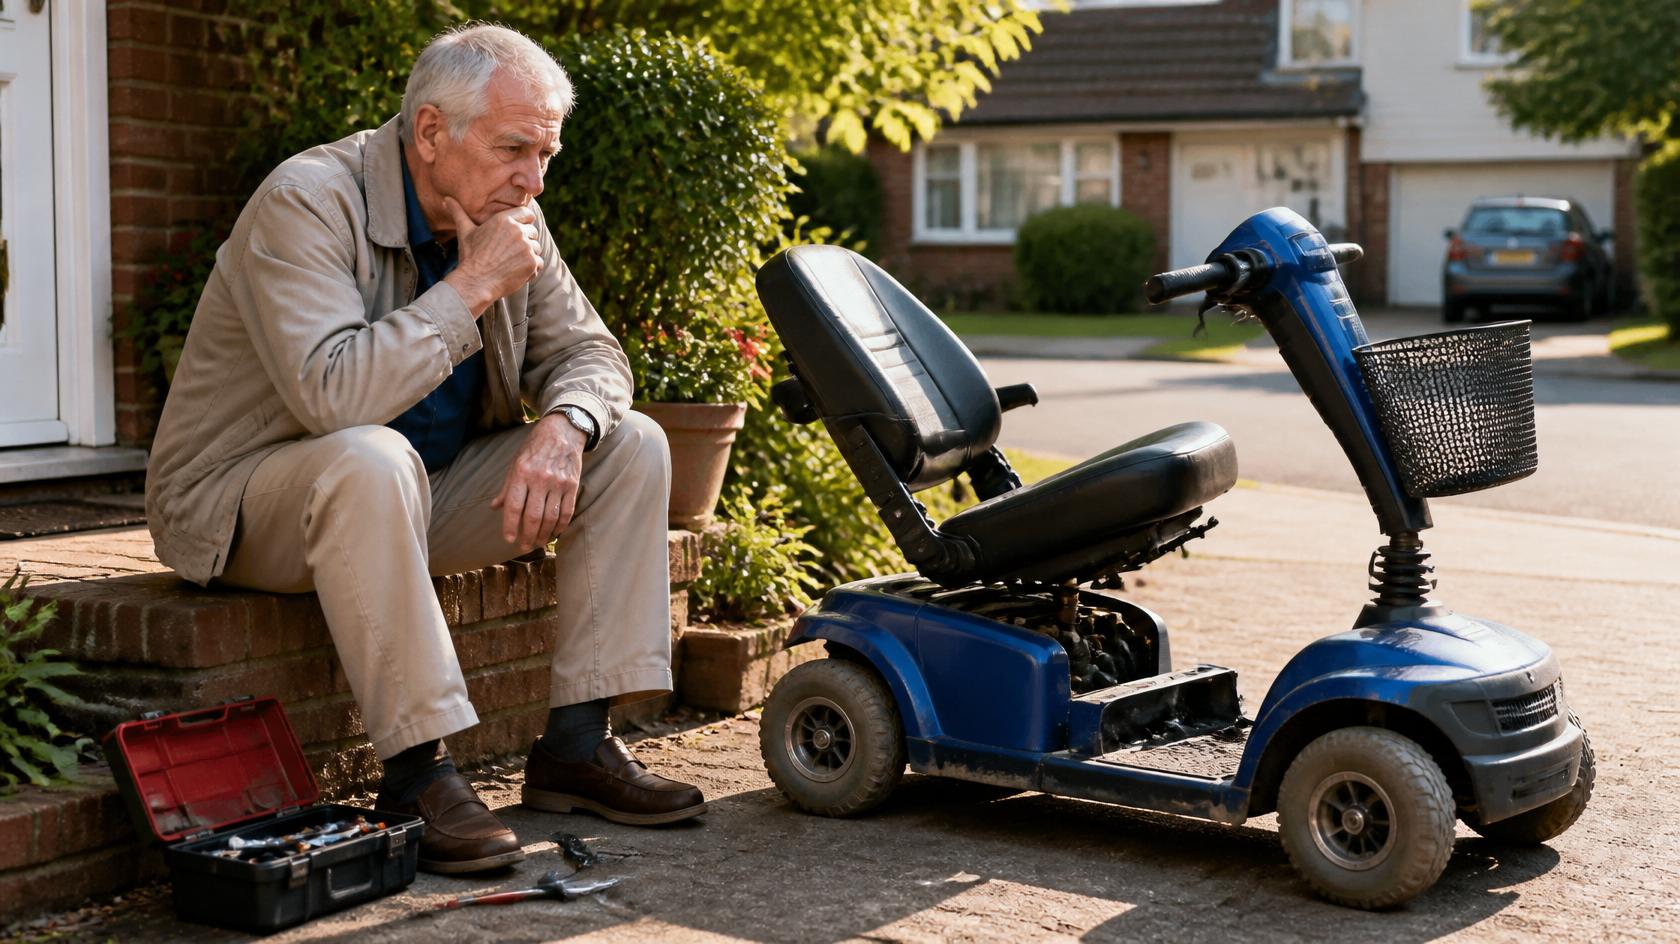
Modern mobility scooters use "Diagnostic Codes" to tell you what's wrong. Count the beeps carefully before the sequence repeats. For example, one flash often means the battery needs recharging, while two flashes indicates a dangerously low battery charge. Five beeps might signify a brake issue.
Check your user manual's troubleshooting table to decode what your scooter is telling you. Sometimes, a simple power cycle—turning the key off, waiting 30 seconds, and turning it back on—can reset the controller and clear minor errors.
If the beeps stop, great. If they don't, we'll cover what to do next shortly.
4. Throttle or Joystick Issues
The problem:
The scooter jerks when starting, doesn't move when you pull the lever, or the controls feel sticky.
The DIY fix:
Many throttle problems are actually safety features in action. Make sure the throttle is in the centre/neutral position when you turn the key. If you're pulling the lever while turning the key, the "High‑Pedal Disable" safety feature will prevent movement.
If the controls feel sticky, use a can of compressed air to blow out dust from around the joystick or lever.
Still not working? Let's look at some other common DIY fixes.
5. Tyres and Wheels
The problem:
The scooter feels sluggish, struggles on inclines, or makes unusual noises while driving.
The DIY fix:
Tyres affect comfort, stability, and battery efficiency.
- Check tyre pressure—under‑inflated tyres cause the motor to overwork, drain your battery faster, and potentially damage the motor over time. The required pressure is usually between 35 and 45 PSI and is stamped on the tyre sidewall.
- Inspect for debris—clicking or whistling sounds often point to hair, plastic bags, or stones tangled around the wheel axles.
- Check for visible damage—cracks, flat spots, or excessive wear mean it's time for a replacement.
Replacing tyres is a manageable DIY job that typically takes under an hour with basic tools.
Wheels and tyres are one thing. But what if your scooter is making noises you've never heard before?
The Grey Area: Repairs You Might Attempt (But With Caution)
Some repairs sit in a grey area. They're technically possible at home, but they require specific skills, tools, and confidence. If you're handy and have experience with similar repairs, you might tackle these. But if you're unsure, call a professional.
Brake Adjustments
The problem:
Brakes feel loose, stopping distances are longer, or you hear unusual noises when braking.
The DIY approach:
Some brake adjustments—like tension adjustments—are relatively straightforward. Many scooter owners successfully adjust their own brakes with basic tools.
The caution:
Brakes are safety‑critical. If you're not confident, or if the brakes feel seriously compromised, call a professional. Never attempt to drive a scooter with compromised brakes.
If brakes make you nervous, that's okay. Let's talk about the repairs you should never attempt.
Must‑Go‑to‑Workshop: Problems That Require a Professional
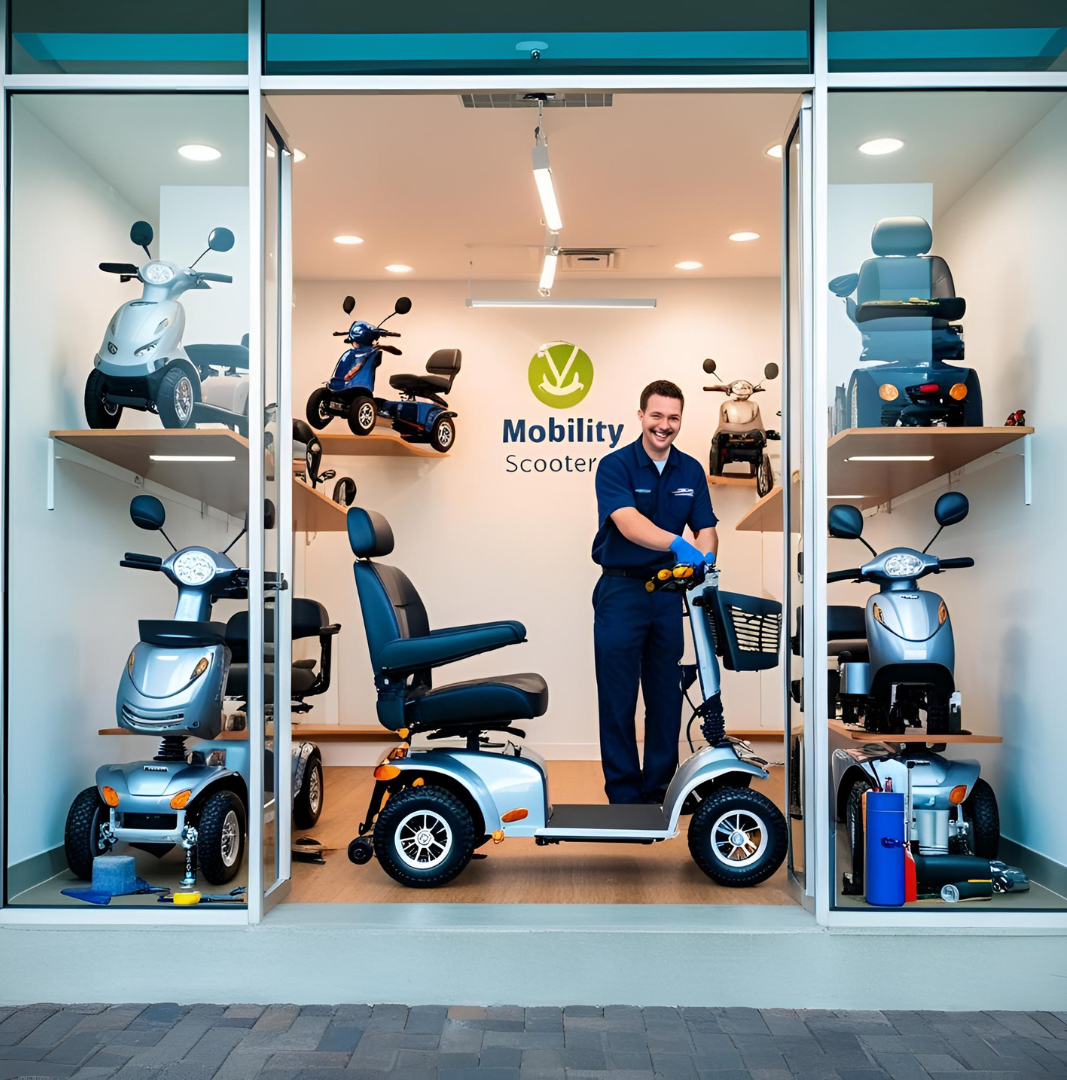
These are the issues that should never be attempted as DIY repairs. They require specialised knowledge, equipment, and often manufacturer‑specific parts.
Attempting them yourself isn't just risky—it can void your warranty, create safety hazards, and turn a fixable problem into an expensive disaster.
1. Internal Motor Failure
The problem:
The scooter doesn't move despite a good battery, you hear grinding or unusual noises from the motor area, or you smell burning.
Why it needs a workshop:
Mobility scooter motors are not universal—they are matched to the scooter's voltage system (typically 24V or 36V), the controller's amperage rating, and the physical mounting configuration. Diagnosing motor issues requires removing coverings, inspecting for burned‑out wires or frayed wiring harnesses, and often replacing the motor entirely.
This is not a job for amateurs.
Burning smells are never a good sign. Let's talk about another high‑risk area.
2. Electrical Short‑Circuits and Controller Faults
The problem:
You see sparks, smoke, or the scooter behaves erratically despite a good battery. Error codes persist after power cycling.
Why it needs a workshop:
The controller is the brain of your scooter. It manages power delivery, speed, braking, and safety systems. Faulty wiring or a failing controller can cause intermittent power loss, erratic behaviour, or complete failure.
Diagnosing and repairing electrical faults requires specialised diagnostic equipment and a deep understanding of the scooter's electrical system. Bypassing safety systems can lead to electrical damage, fire hazards, or voiding your warranty.
Electrical issues are serious. But there's another system you should never compromise on.
3. Brake System Failure
The problem:
The scooter rolls freely when parked, stopping distances are dangerously long, or the brakes don't engage at all.
Why it needs a workshop:
Electromagnetic brakes are complex safety systems. If they fail, the consequences can be catastrophic—especially on slopes or in traffic. A qualified technician can properly diagnose, adjust, or replace brake components to ensure they meet safety standards.
Speaking of safety, let's talk about your warranty—because this is where many DIY attempts go wrong.
4. Warranty‑Voiding Repairs
The problem:
Your scooter is under warranty and needs repair.
Why it needs a workshop:
If you attempt self‑repair, you might void the warranty if you don't follow the manufacturer's recommendations.
In such cases, it's always advisable to consult the manufacturer or an authorised repair centre. Even if you're confident in your skills, a warranty claim later could be denied because of unauthorised work.
Now that you know what needs a workshop, let's talk about making the call‑out vs bring‑in decision.

Call‑Out vs Bring‑In: Making the Right Choice
Once you've identified that a problem needs professional attention, you have two options: mobile call‑out (technician comes to you) or workshop (you bring the scooter to them).
Mobile call‑out is ideal for:
- Problems that can likely be fixed onsite (battery replacement, tyre changes, simple electrical diagnostics)
- Scooters that are difficult or impossible to transport
- Urgent situations where you need the scooter back quickly
Call‑out fees typically range from $70–$150 in labour, excluding parts. Travel fees may apply depending on location.
Workshop is better for:
- Complex electrical or motor repairs that require specialised equipment
- Structural repairs or custom modifications
- Situations where you have transport and can wait a few days
Workshop repairs may have a longer turnaround—1 to 1.5 weeks depending on workload and issue complexity. However, you avoid the call‑out fee.
A good technician will assess onsite and advise whether the repair can be done there and then, or whether the scooter needs to go to the workshop.
The Repair vs Replace Decision
Sometimes, even a professional repair isn't the right answer. Here's a simple rule of thumb:
- If the repair cost exceeds $3,000—the NDIS urgent repair cap for mobility scooters—replacement is usually the better financial decision.
- If the repair costs 50% or more of the scooter's replacement value, it's usually not worth it.
- If your scooter is frequently breaking down, upgrading to a newer, more reliable model may save you money and frustration in the long run.
New lightweight folding scooters start from around $2,390**, while mid‑range everyday models cost **$3,880–$4,990. If your repair quote approaches these figures, replacement becomes compelling.
Your Decision Flowchart
Here's a simple way to decide what to do when your scooter breaks down:
- Is it a simple fix? Check battery, freewheel lever, tyre pressure, diagnostic beeps.
- Yes? Fix it yourself. You've just saved time and money.
- No? Is it a complex electrical, motor, or brake issue? Does it involve warranty?
- Yes? Call a professional. Don't attempt it yourself.
- Is the repair cost more than 50% of a new scooter? Consider replacing rather than repairing.

Your Peace of Mind Matters Most
Your mobility scooter isn't just a machine—it's your freedom, your independence, and your link to the world around you. When it breaks down, it's not just inconvenient; it can feel deeply unsettling.
But here's what we want you to take away from this guide: you are more capable than you think. Most scooter issues are simple. Most can be fixed in minutes. And even when you do need a professional, knowing what mobility scooter issues can usually be fixed at home versus those that must go to a workshop means you'll save money, reduce stress, and get back on the road faster.
So the next time your scooter splutters or stalls, take a breath. Work through our triage guide step by step. And remember—you've got this.
Need more help? Check your scooter's user manual for specific troubleshooting advice, or contact your local mobility equipment provider for guidance. And if you're an NDIS participant, don't forget to check your plan has available funding for repairs before booking—urgent mobility scooter repairs are capped at $3,000 under the scheme.
Stay mobile, stay confident!
Sign up for our monthly Mobility Scooter Newsletter to receive practical guides, expert advice, and inspiring stories that help you make the most of your scooter and download our free "Mobility Scooter Guide for Beginners."
Don't worry — your e-mail address is totally secure.
I promise to use it only to send you our newsletter, "Mobility Matters."
Recent Articles


-
Portable vs Travel vs Folding Mobility Scooters Buyer's Guide
Sep 15, 26 11:01 AM
 Confused by "portable," "travel," and "folding" mobility scooter listings? This guide explains what Australian sellers actually mean, with real weight comparisons and a decision framework.
 -
Mobility Scooter Types Overview: No More Confusion
Sep 15, 26 10:54 AM
 Mobility scooter types explained in plain English. Includes Australian footpath rules, airline battery limits, and the one mistake most first-time buyers make.
 -
How to Choose a Mobility Scooter in Australia Guide (2026)
Sep 15, 26 07:29 AM
 Choosing a mobility scooter in Australia? This guide covers registration requirements by state, public transport dimensions, NDIS funding steps, and practical testing advice.



Ready to Feel More Confident on Your Mobility Scooter?

My Ebook, The Ultimate Guide to Mobility Scooters, walks you through choosing the right scooter, using it safely, and keeping it in top condition — all explained in clear, friendly language.
Give yourself (or someone you love) the gift of independence.

