- Home
- Funding and Coverage
- NDIS Funding for Mobility Scooters
- After NDIS Approves a Mobility Scooter
After NDIS Approves a Mobility Scooter: What Happens Next (Ordering, Invoicing, Delivery, Setup, and Training)
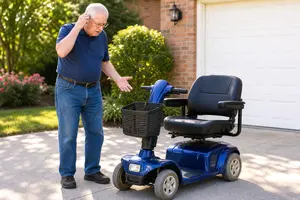
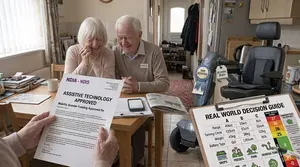
Picture this. The letter arrives. Or the email pings. You've been approved. After weeks — maybe months — of assessments, reports, quotes, and waiting, the NDIS has said yes to your mobility scooter. You feel a rush of relief. Then, almost immediately, a new question surfaces: What now? The approval letter doesn't come with a step-by-step guide for what happens next. You're not sure who to call, how payment works, or what to expect on delivery day.
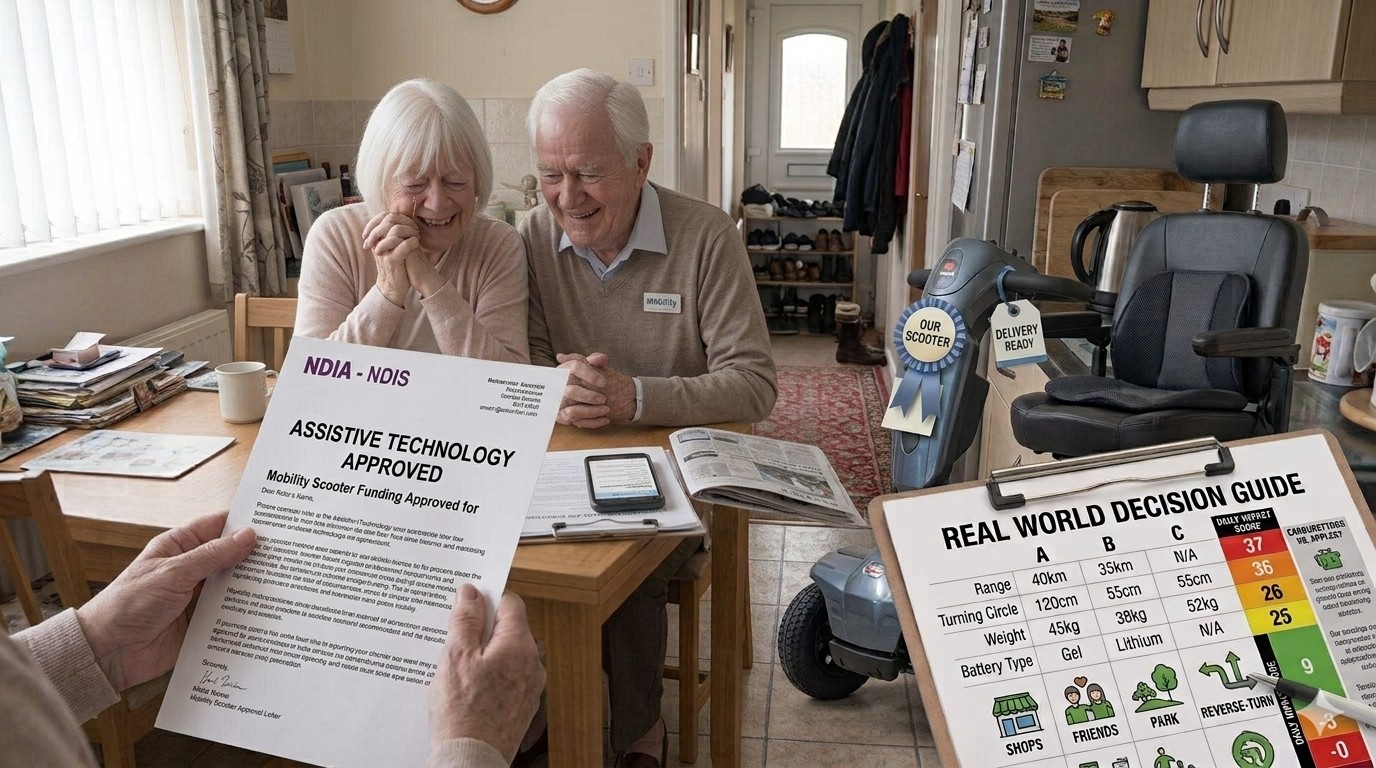
Here's the reassuring truth: after NDIS approves a mobility scooter, the process is more straightforward than the application ever was. You've already done the hard part. What follows is logistics — and logistics can be managed.
This guide will walk you through ordering, invoicing, delivery, setup, and training, step by step. By the end, you'll know exactly what to expect and what to do next.
Your First Step: Understanding What Your Approval Actually Means
When the NDIS approves your mobility scooter, it adds funding to your plan. For most scooters — which fall into the mid-cost AT range between $1,500 and $15,000 per item — the funding appears in your Capital Supports budget. The exact amount may be listed, or it may show as zero until the specific quote is processed, depending on your plan type and the complexity of the item. Either way, the approval is your green light to proceed with purchasing.
But here's where things get slightly different depending on how your plan is managed. If you're NDIA-managed, you'll need to buy from a registered NDIS provider. If you're plan-managed or self-managed, you have more flexibility to choose any supplier. That flexibility matters — it means you can shop around, compare models, and choose the scooter that genuinely fits your life, not just the one that's easiest to invoice.
Before you start browsing, though, there's one thing you should check first. And it's the question that trips up more people than any other.
Ordering Your Scooter: How Your Plan Type Changes Everything
The ordering process looks different depending on whether you're NDIA-managed, plan-managed, or self-managed. Let's break it down.
If you're NDIA-managed: You'll need to use a registered NDIS provider. Your provider will create a service booking through the NDIS portal against your plan. Once the claim is approved, they'll arrange delivery. You don't handle invoices or payments — the provider claims directly from the NDIS.
If you're plan-managed: You have more choice. You can buy from any supplier, registered or not. Your supplier sends an invoice to your plan manager, who processes the payment from your plan budget. You typically don't pay anything out of pocket.
If you're self-managed: You have the most flexibility. You can buy from any supplier, pay upfront, and then claim reimbursement from the NDIS using your invoice and receipt. This gives you the widest range of options, but it does mean you need to front the cost temporarily.
Whichever pathway you're on, the key is to confirm your plan type before you order. A quick call to your support coordinator or plan manager can save you weeks of confusion. Once you know your pathway, you're ready to choose your supplier and place your order.
And that's when the next question arises: how does the invoicing actually work?
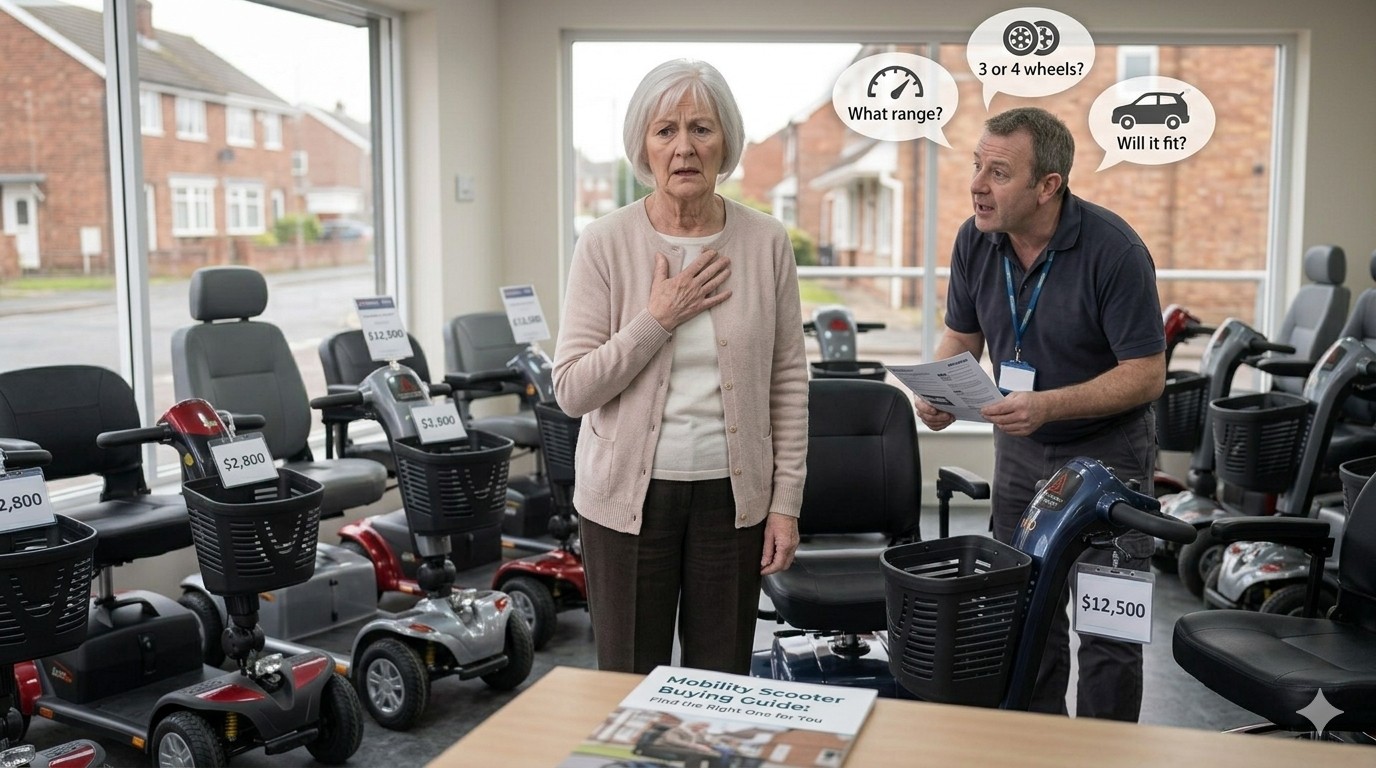
Invoicing: What Your Provider Needs to Include
NDIS invoices aren't like regular retail receipts. They need to contain specific information to be compliant. A valid NDIS invoice should include the participant's NDIS number, the provider's details, the support item code, a description of the support, the date, the cost, and the GST treatment where applicable. For assistive technology like a mobility scooter, the invoice should also reference the quote and the approved funding.
If you're plan-managed, your provider sends the invoice directly to your plan manager. If you're self-managed, you'll receive the invoice, pay it, and then submit a claim through the NDIS portal with the invoice and proof of payment attached. If you're NDIA-managed, you don't need to worry about invoices at all — your provider handles that side of things.
One tip that saves a lot of headaches: ask your provider to confirm the support item code before you order. The correct code for mobility scooters and wheelchairs falls under the AT category, and using the wrong code can delay payment.
Once the invoice is sorted, the next milestone is delivery day. And that's where the real excitement begins — along with a few practical things you'll want to prepare.
Delivery Day: What to Expect (and How to Prepare)
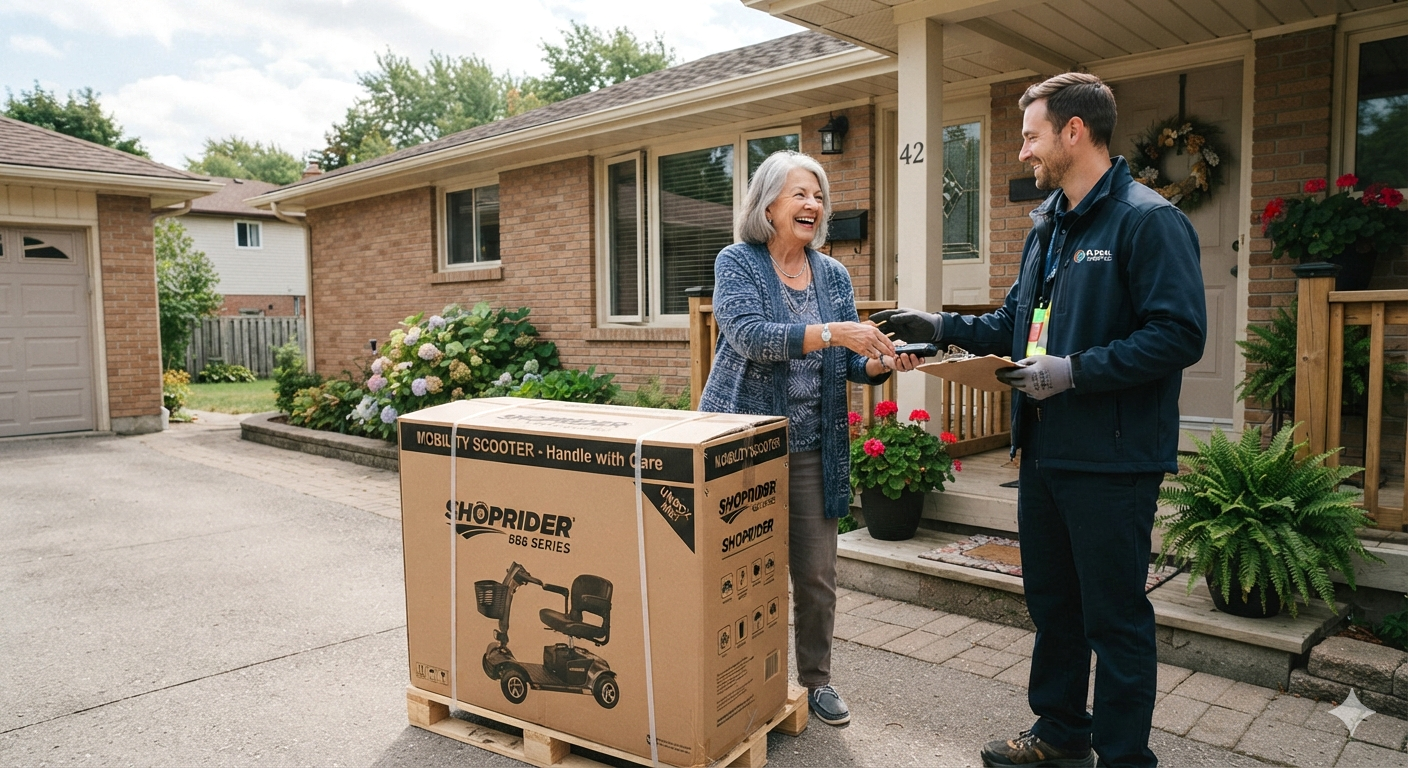
Delivery day is the moment your scooter becomes real. For most providers, delivery includes bringing the scooter to your home, assembling it, and removing the packaging. If you're in a regional or remote area, there may be a travel fee, but this is often covered within the delivery and setup line item if your provider includes it in the quote.
Before delivery day, clear a space for the scooter. Make sure there's a clear path from your door to where you'll store it. If you have pets or children, arrange for them to be occupied during the delivery window. And if possible, have someone with you — a family member, carer, or support worker — so you have an extra set of hands and ears.
When the scooter arrives, the delivery team will assemble it, check that it's working, and adjust it to your basic settings. This is also when you'll receive your initial handover — a brief walkthrough of the controls, charging, and safety features. But here's the thing: a brief walkthrough isn't the same as proper training.
And that's something you're entitled to. We'll get to that in a moment, but first, let's talk about the setup process in more detail.
Setup and Handover: More Than Just Unboxing
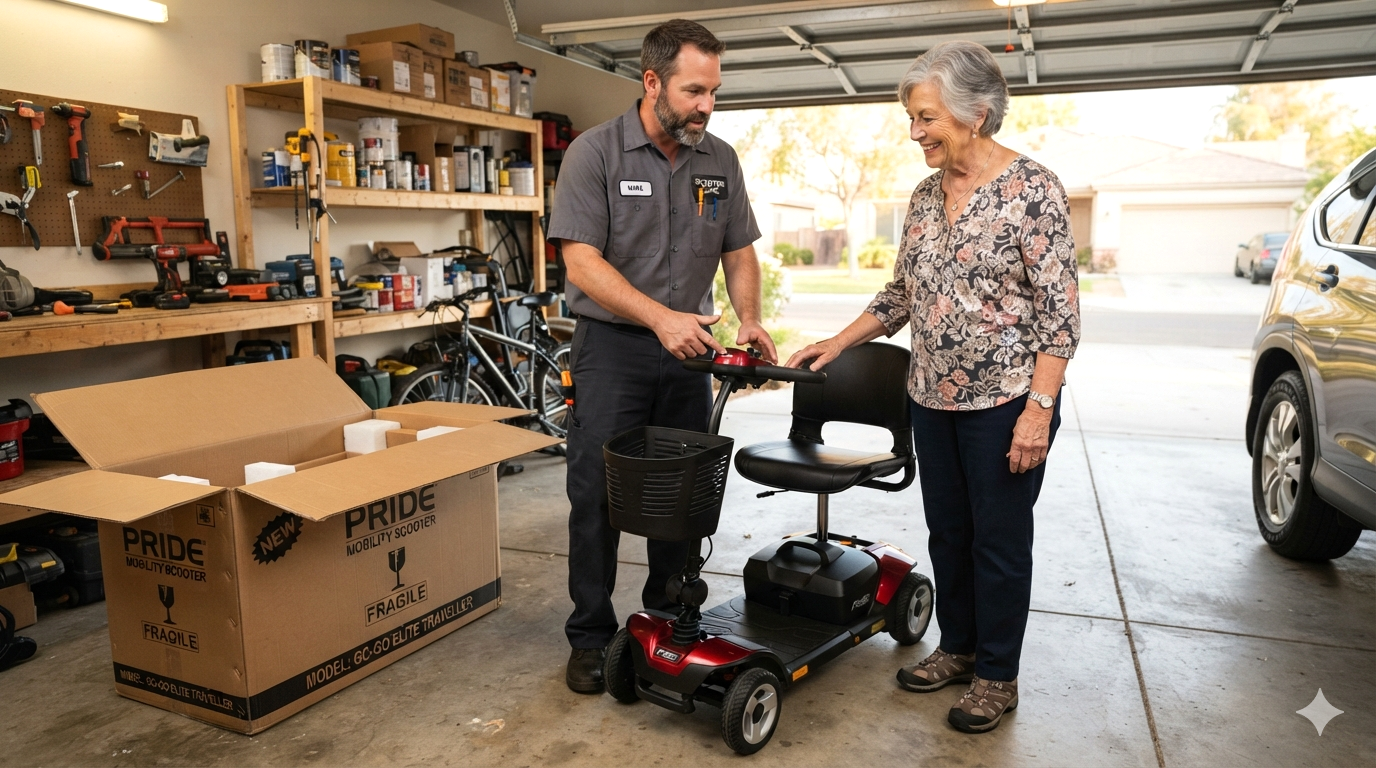
Setup isn't just about assembling the scooter. It's about making sure the scooter fits you. Seat height, handlebar position, tiller angle, mirror placement, and even the speed settings should be adjusted to your body and your comfort. If your OT is involved — and for mid-cost AT, they often are — they may attend the delivery or schedule a follow-up handover assessment to check that the scooter is fit-for-purpose.
This handover assessment is your safety net. It's a chance to identify any issues before you start using the scooter regularly. Does the seat cause pressure points? Is the turning circle too wide for your hallway? Can you reach the controls comfortably? These questions are easier to address now than after you've been using the scooter for months.
If your OT isn't automatically involved in the delivery, you can ask your provider whether a handover assessment is included. Some providers offer it as standard; others don't. If it's not included, your OT can still schedule a follow-up visit, which may be funded through your plan's capacity-building budget.
Once the scooter is set up and adjusted, the final piece of the puzzle is training. And this is where the real confidence begins.
Training: Why It Matters (and What It Should Cover)
Training isn't just a nice-to-have. It's essential for your safety and your confidence. A mobility scooter is a motorised vehicle, and operating one safely requires more than a quick demonstration. Proper training covers how to start and stop smoothly, how to navigate kerbs and slopes, how to cross roads safely, how to charge and maintain the battery, what to do in an emergency, and how to store the scooter when it's not in use.
Who provides this training? It varies. Some suppliers include a basic training session as part of delivery. Some OTs build training into their handover assessment. And some participants receive no formal training at all — which is a gap that shouldn't exist. If your provider doesn't offer training, ask your OT whether they can provide it or recommend someone who can. Training can be funded through your plan's capacity-building budget, particularly under "training for the use of assistive technology" line items.
The goal isn't just to learn how to operate the scooter. It's to feel genuinely confident and safe. That confidence comes from practice, guidance, and knowing you have support if something goes wrong.
Read the full guide: What Should I Check During a Mobility Scooter Test Drive or In-Home Trial?
Which brings us to the final piece: what happens after the scooter is yours?
After the Scooter Arrives: Maintenance, Repairs, and Ongoing Support
Once your scooter is delivered, set up, and you're trained, the process shifts from acquisition to ownership. Your scooter will need regular servicing, and eventually, it may need repairs or a replacement battery. The good news is that the NDIS funds repairs and maintenance for AT items you're currently using. That includes routine servicing, tyres, chargers, and labour costs. These sit in your Capital Supports budget under "assistive technology repairs and maintenance".
If something goes wrong — a faulty part, a warranty issue, or damage from an accident — contact your supplier first. They'll guide you through the warranty or repair process. If your scooter needs urgent repairs, there are provisions for that too. We've covered the full process in our guide to NDIS funding for scooter repairs, servicing, and replacement batteries, if you want the detailed breakdown.
The important thing to remember is that you're not alone after delivery. Your provider, your OT, and your support coordinator are all still there to help. And if you ever feel like something isn't right — whether it's the scooter itself or the support you're receiving — you have options.
What If Something Goes Wrong? Your Safety Net
If your scooter arrives damaged, if it's the wrong model, or if it doesn't fit properly, you have the right to request a replacement or adjustment. Contact your supplier immediately and document everything — photos, dates, and details of the issue.
If the supplier doesn't resolve it, escalate to your plan manager or support coordinator, or contact the NDIS Quality and Safeguards Commission.
If your scooter breaks down after the warranty period, repairs can be funded through your plan. And if you ever feel unsafe using the scooter, stop using it and seek advice from your OT or supplier before continuing.
Your safety is the priority — the scooter is there to support you, not to create new risks.

FAQs: After NDIS Approves a Mobility Scooter
How long does delivery take after NDIS approval?
Timelines vary by provider and your location. Some providers deliver within days of invoice processing; others may take a few weeks. Ask your supplier for an estimated delivery window when you place your order.
Do I need to pay anything upfront?
If you're plan-managed or NDIA-managed, generally no. If you're self-managed, you may pay upfront and claim reimbursement. Check with your plan manager or support coordinator if you're unsure.
Who provides training on how to use my scooter?
It varies. Some suppliers include basic training; some OTs provide it as part of a handover assessment. If training isn't offered, ask your OT or support coordinator to arrange it.
What if the scooter doesn't fit properly?
Contact your supplier immediately. Adjustments may be covered under the setup process, and if not, your OT can help identify what needs to change. If the scooter is fundamentally unsuitable, you may be able to request a replacement.
Can I get help with maintenance and repairs?
Yes. The NDIS funds repairs and maintenance for AT items you're currently using. Contact your supplier for repairs, and check your plan's Capital Supports budget for funding.
What if I'm not sure who to contact?
Start with your support coordinator or plan manager. They can guide you through the process and connect you with the right people.
Your Next Step: You're Closer Than You Think
You've done the hard part. The application, the assessments, the waiting — it's all behind you. What's ahead is simpler: a few phone calls, a delivery day, a setup session, and the moment you first glide down your street without pain.
After NDIS approves a mobility scooter, the process isn't about bureaucracy anymore. It's about logistics. And logistics are manageable.
Your next step is to confirm your plan type, contact your chosen supplier, and ask about delivery, setup, and training. If you're not sure where to start, call your support coordinator. If you don't have one, your local area coordinator can help. ]
You're not doing this alone. And soon, you'll be doing something even better: moving freely, independently, and with confidence.
Stay mobile, stay confident!
Sign up for our monthly Mobility Scooter Newsletter to receive practical guides, expert advice, and inspiring stories that help you make the most of your scooter and download our free "Mobility Scooter Guide for Beginners."
Don't worry — your e-mail address is totally secure.
I promise to use it only to send you our newsletter, "Mobility Matters."
Recent Articles


-
The NDIS Mobility Scooter Funding Guide I Wish Someone Had Given Me
Sep 28, 26 08:00 AM
 NDIS funding for mobility scooters doesn't have to be confusing. Here's your friendly guide to eligibility, assessment, costs, and approval.
 -
NDIS Funding for Mobility Scooter Repairs & Servicing: Plan Ahead
Sep 28, 26 07:58 AM
 NDIS funding for mobility scooter repairs and servicing: what's covered, who to call, and how to avoid being stranded.
 -
After NDIS Approves a Mobility Scooter: What Comes Next
Sep 28, 26 06:44 AM
After NDIS approves a mobility scooter, you might feel unsure what to do. This friendly guide walks you through every step.

Ready to Feel More Confident on Your Mobility Scooter?

My Ebook, The Ultimate Guide to Mobility Scooters, walks you through choosing the right scooter, using it safely, and keeping it in top condition — all explained in clear, friendly language.
Give yourself (or someone you love) the gift of independence.




