- Home
- Mobility Scooter Safety and Daily Use
- Shopping Centre Navigation Strategies for Mobility Scooters
- Shopping Centre Route Planning
How Do I Plan the Easiest Route Through a Shopping Centre Using the Centre Map?
Picture this: You've been looking forward to a shopping trip all week. You've got your list ready, your mobility scooter is charged, and you're feeling good. But as you pull into the car park, a familiar knot forms in your stomach. Which entrance is closest to the lift? Where are the accessible toilets? Is that store you need to visit even on the same level? You've been burned before — spending half your trip hunting for a working lift or doubling back through crowded corridors because you missed a turn.
Now picture the alternative.
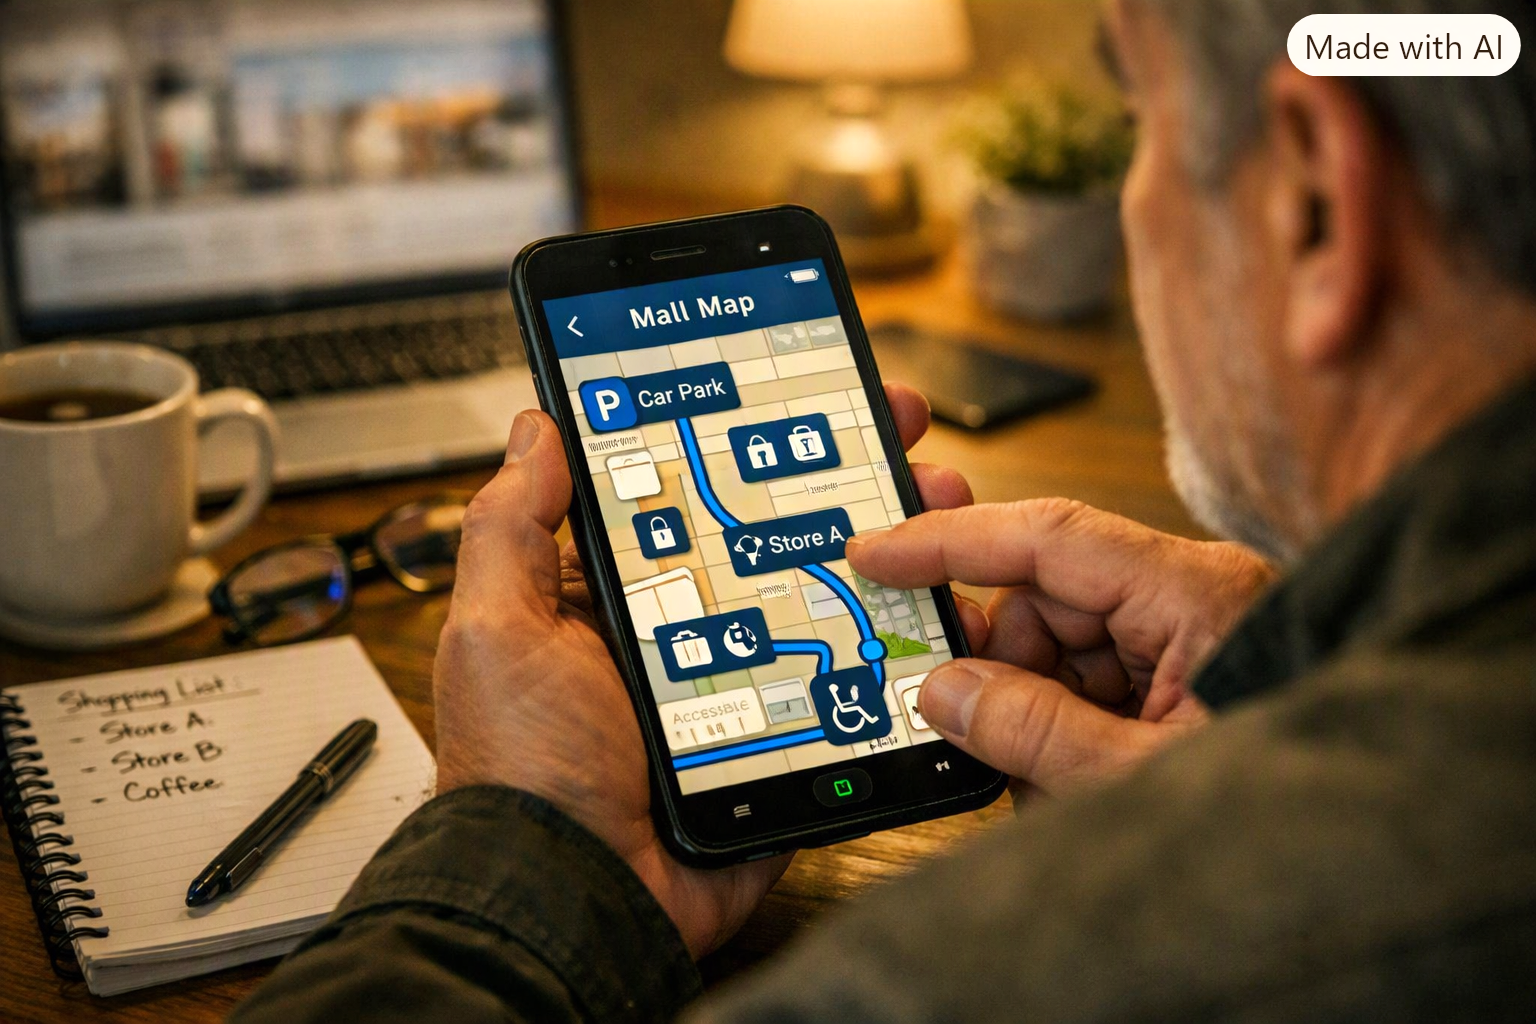
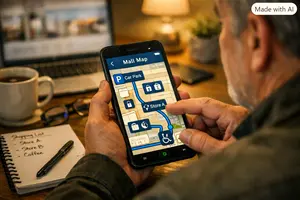
Before you even leave home, you spend fifteen minutes with the shopping centre map open on your phone. You know exactly where to park. You've traced your route from the car park to the lift, from the lift to your first store, and you know where the accessible toilet is on each level.
You walk in calm, confident, and in control. That's not a fantasy — it's simply what happens when you know how to plan the easiest route through a shopping centre using the centre map.
This guide will walk you through exactly how to do that. No jargon, no assumptions, just practical steps that make a real difference.
Why Planning Your Route on the Centre Map Changes Everything
A little planning can dramatically reduce physical and mental fatigue. Think about it: every wrong turn, every backtrack, every moment spent squinting at a directory board is energy you're spending on navigation instead of enjoying your trip.
Shopping centres are complex spaces. They have multiple levels, varying entrance points, and amenities scattered across different zones. Without a plan, you're essentially navigating blind. With a plan, you're in control.
The best part? You don't need to memorise the entire map. You just need to identify a handful of key landmarks and connect them into a simple route. And the tools to do this are already available to you — you just need to know where to look and what to look for.
Step One: Find Your Centre's Map (It's Easier Than You Think)
Most large Australian shopping centres publish their maps online. Westfield centres, for example, have a centre map feature on their websites and in their apps that lets you view every level, locate stores, and even find lifts and ramps by enabling accessibility routes.
But here's the thing — you don't need a fancy app to do this. A simple PDF map saved to your phone or even a screenshot will do the job. If you prefer, you can also collect a printed map from the concierge desk when you arrive, though having it on your phone means you can study it before you leave home.
Once you've got the map, take a moment to orient yourself. Most maps are designed "head up" — meaning the top of the map corresponds to what's physically in front of you as you face the main entrance. This makes it much easier to translate what you see on screen into real-world directions.
Now that you've found your map, let's talk about the first thing you should look for — and it's probably not what you think.
Step Two: Identify the Right Entrance (Not Just Any Entrance)
Not all entrances are created equal, especially when you're on a mobility scooter. Some entrances have automatic doors and level access; others have steps, heavy manual doors, or steep ramps. Your goal is to find the entrance that gets you inside with the least friction.
Start by looking for the accessible parking bays on the map. These are usually marked with the international symbol of access, and they're typically located close to specific entrances. For example, Westfield Chermside recommends the Pink Car Park for wheelchair hire pick-up, accessible via Hamilton Road or Kittyhawk Drive.
Once you've identified the accessible parking area, trace a line from there to the nearest entrance. Is that entrance marked as having level access? Does it have automatic doors? Pacific Fair's access statement notes that all their entryways have automatic doors compliant with minimum widths, and their main drop-off area on Hooker Boulevard has level access.
If you're unsure which entrance is best, this is exactly the kind of question a concierge team can answer in seconds. A quick phone call before you leave home can save you a world of frustration.
And once you know your entrance, the next step is figuring out how to move vertically through the centre — which means understanding the lifts.
Step Three: Locate the Lifts (and Know Your Alternatives)
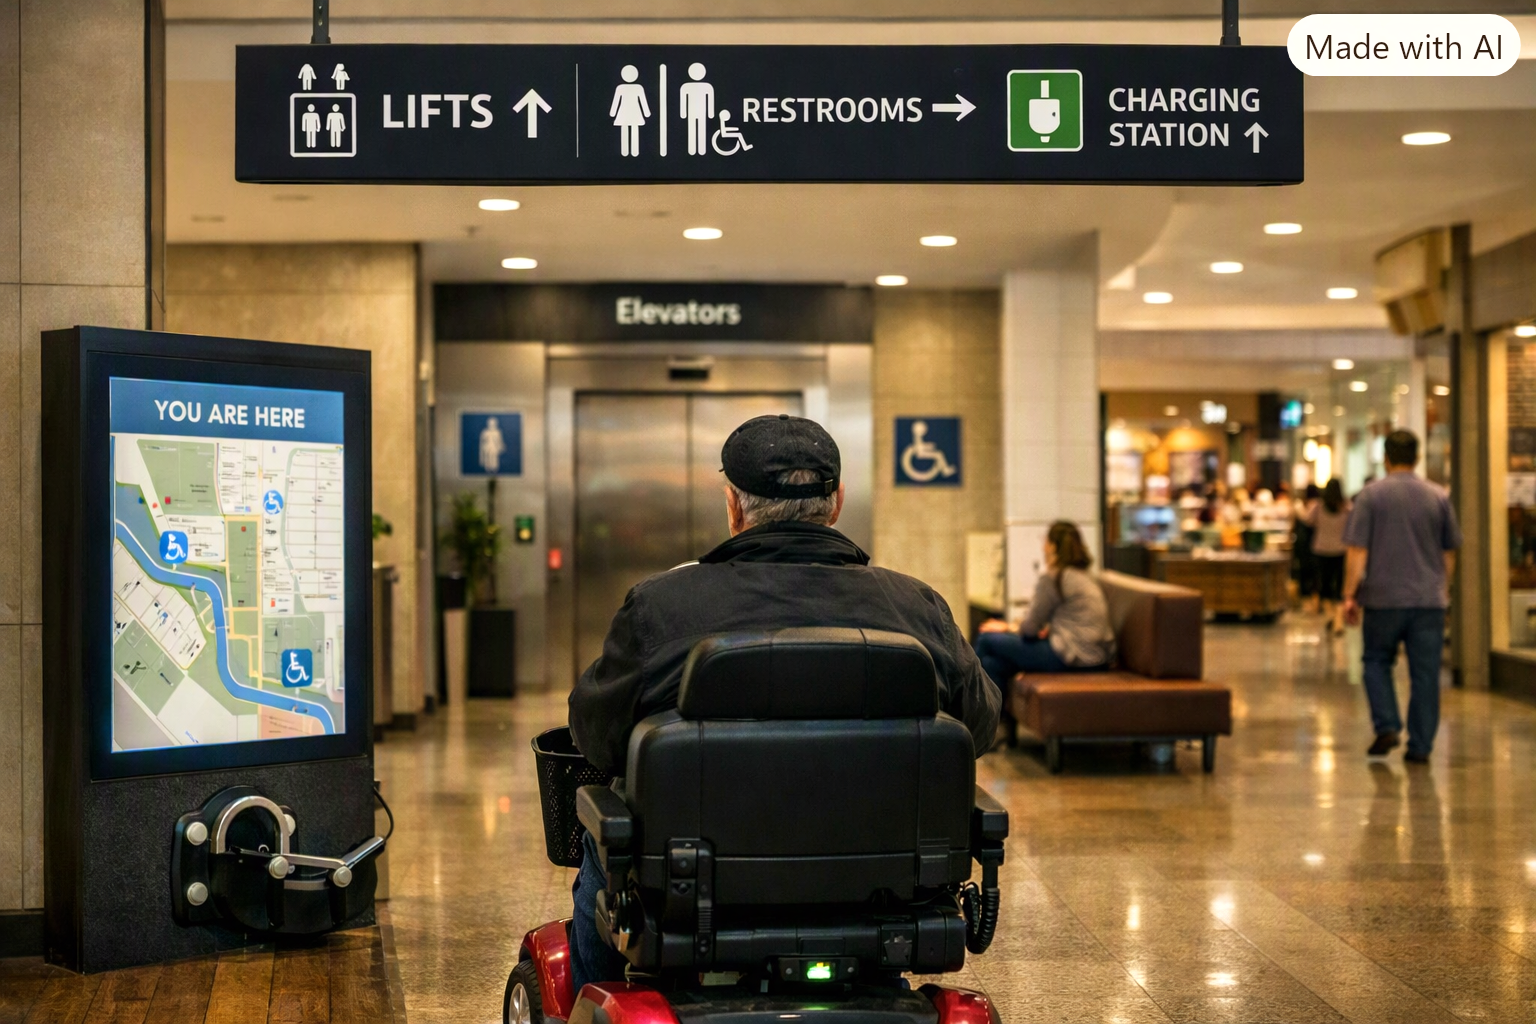
Lifts are the backbone of accessible navigation in any multi-level shopping centre. Pacific Fair, for instance, has lifts located throughout the centre for access to both levels. Chatswood Chase recently installed 13 new lifts and 26 new escalators to improve accessibility throughout.
When you're studying the centre map, mark every lift you can find. Then, for each lift, note which levels it serves. Some lifts only go between certain floors, and the last thing you want is to discover that the lift near your favourite store doesn't actually stop on the level you need.
It's also worth identifying a backup lift. Lifts break down, and they get busy. Knowing where the second-nearest lift is located means you're never stranded.
If you want a deeper dive into what to do when the lift is out of order or packed with people, our guide on what to do if the lift is busy or out of order has you covered with practical contingency plans. (Coming Soon!)
Now that you can move between levels, let's make sure you can take care of essential business while you're there — which means knowing exactly where the accessible toilets are.

Step Four: Pinpoint Accessible Toilets on Every Level You'll Visit
Accessible toilets are non-negotiable. You need to know where they are before you need them. A centre map will typically mark these with the international symbol of access, but it's worth checking the specific locations in advance.
At Westfield Chatswood, accessible toilets are located on levels 2, 3, 5, and 6. At Westfield Parramatta, you'll find them on Level 1 near Fone King, Level 2 across from Rip Curl, Level 3 opposite Woolworths, Level 4 near Calvin Klein and Gucci, and Level 5. Pacific Fair goes a step further, noting that all their toilet facilities have an adjacent wheelchair accessible facility with a button-operated automatic door, and they even have an adult change facility with a hoist and full-size change table.
Your goal here is simple: for every level you plan to visit, identify at least one accessible toilet. Write it down or highlight it on your map. That way, when nature calls, you're not scrambling.
But toilets aren't the only thing you need to plan for — let's talk about the practical reality of moving through the centre itself.
Step Five: Plan Your Actual Route (Store by Store)
Now comes the fun part — connecting the dots. Think of your shopping trip as a mini-mission. Decide on your two or three "must-visit" stores, as this helps you plan the most efficient route and prevents aimless wandering through crowded sections.
Your route should follow a logical flow: enter through your chosen entrance, take the nearest lift to the level where your first store is located, visit that store, then move to the next one. If your stores are on different levels, plan your lift trips strategically so you're not constantly going up and down.
This is where the centre map really shines. You can trace your route with your finger, anticipate where you'll need to turn, and identify any potential bottlenecks. Are there narrow corridors between stores? Is there a food court you'll need to navigate around? Mark those on your map so you're prepared.
And speaking of bottlenecks — if you're shopping during a busy period, knowing your route in advance means you can adjust on the fly. If a corridor looks packed on the map, you can plan an alternative path through a wider area.
Our guide on shopping at peak times without getting boxed in dives deeper into crowd-flow strategies. (Coming Soon!)

A Note on Timing and Tools
The quietest times at most shopping centres are typically Tuesday to Thursday mornings, between 9:30 AM and 11:30 AM. If your schedule allows, plan your trip during these "golden hours." The centre is significantly less crowded, aisles are clearer, and noise levels are much lower.
For those who prefer digital tools, the Westfield app now offers a navigation feature that provides guided directions through the centre. You can select a store, tap "Directions," choose your starting point, and the app will guide you step by step. You can also enable accessibility routes to prioritise lifts and ramps.
If you'd rather stick with a paper map, that's perfectly fine too. The key is to spend those fifteen minutes before you leave home, mapping out your route so you're not doing it on the fly while balancing on your scooter in the middle of a busy walkway.
What If You're Visiting a Centre for the First Time?
First visits are always a little daunting, but the same principles apply. Pull up the centre map online, identify the accessible parking, find the nearest entrance with level access, locate the lifts, and mark the accessible toilets. If you're unsure about anything, call the concierge.
And if you want a more detailed breakdown of how to turn around safely in narrow aisles, secure your scooter while you're in a store, or handle an emergency evacuation, we've covered those in dedicated guides. (Coming Soon!)
The more you know in advance, the more confident you'll feel when you arrive.
You're Ready — Now Go Enjoy Your Shop
Planning the easiest route through a shopping centre using the centre map isn't about being overly cautious or complicating a simple trip. It's about removing the guesswork so you can focus on what actually matters: finding what you need, enjoying your time out, and getting home without feeling exhausted.
You have the map. You have the steps. You have everything you need to turn a stressful outing into a smooth, confident experience.
So next time you're planning a shopping trip, give yourself those fifteen minutes. Open the map, trace your route, and walk in knowing exactly where you're going.
Your future self — the one strolling calmly past the crowded directory board — will thank you.
Stay mobile, stay confident!
Sign up for our monthly Mobility Scooter Newsletter to receive practical guides, expert advice, and inspiring stories that help you make the most of your scooter and download our free "Mobility Scooter Guide for Beginners."
Don't worry — your e-mail address is totally secure.
I promise to use it only to send you our newsletter, "Mobility Matters."
Recent Articles


-
Shopping Centre Navigation Strategies Made Simple & Stress-Free
Oct 17, 26 05:53 AM
 Shopping centre navigation strategies that actually work. Master lifts, tight aisles & crowded malls with practical, carer-friendly advice.
 -
How to Plan Your Shopping Centre Route with the Centre Map
Oct 17, 26 05:51 AM
how do I plan the easiest route through a shopping centre using the centre map entrances lifts and accessible toilets -
Mobility Scooter Buying Guide: Don't Buy Until You Read This
Oct 16, 26 05:18 AM
 Mobility Scooter Buying Guide: Confused by choices? We walk you through types, costs, test drives and car boot fit so you buy with total confidence.

Ready to Feel More Confident on Your Mobility Scooter?

My Ebook, The Ultimate Guide to Mobility Scooters, walks you through choosing the right scooter, using it safely, and keeping it in top condition — all explained in clear, friendly language.
Give yourself (or someone you love) the gift of independence.




